Unity Shader实现模型的描边效果

4848
1
10
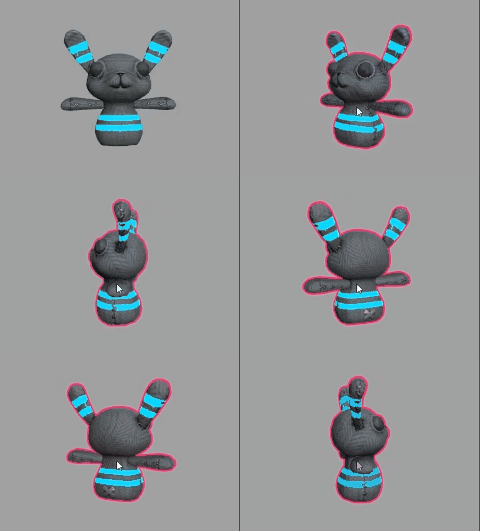
描边效果的实现方式有很多种,比如后期处理的方式、修改顶点着色器的方式。
本次描边效果的实现方式就是使用第二种方法。
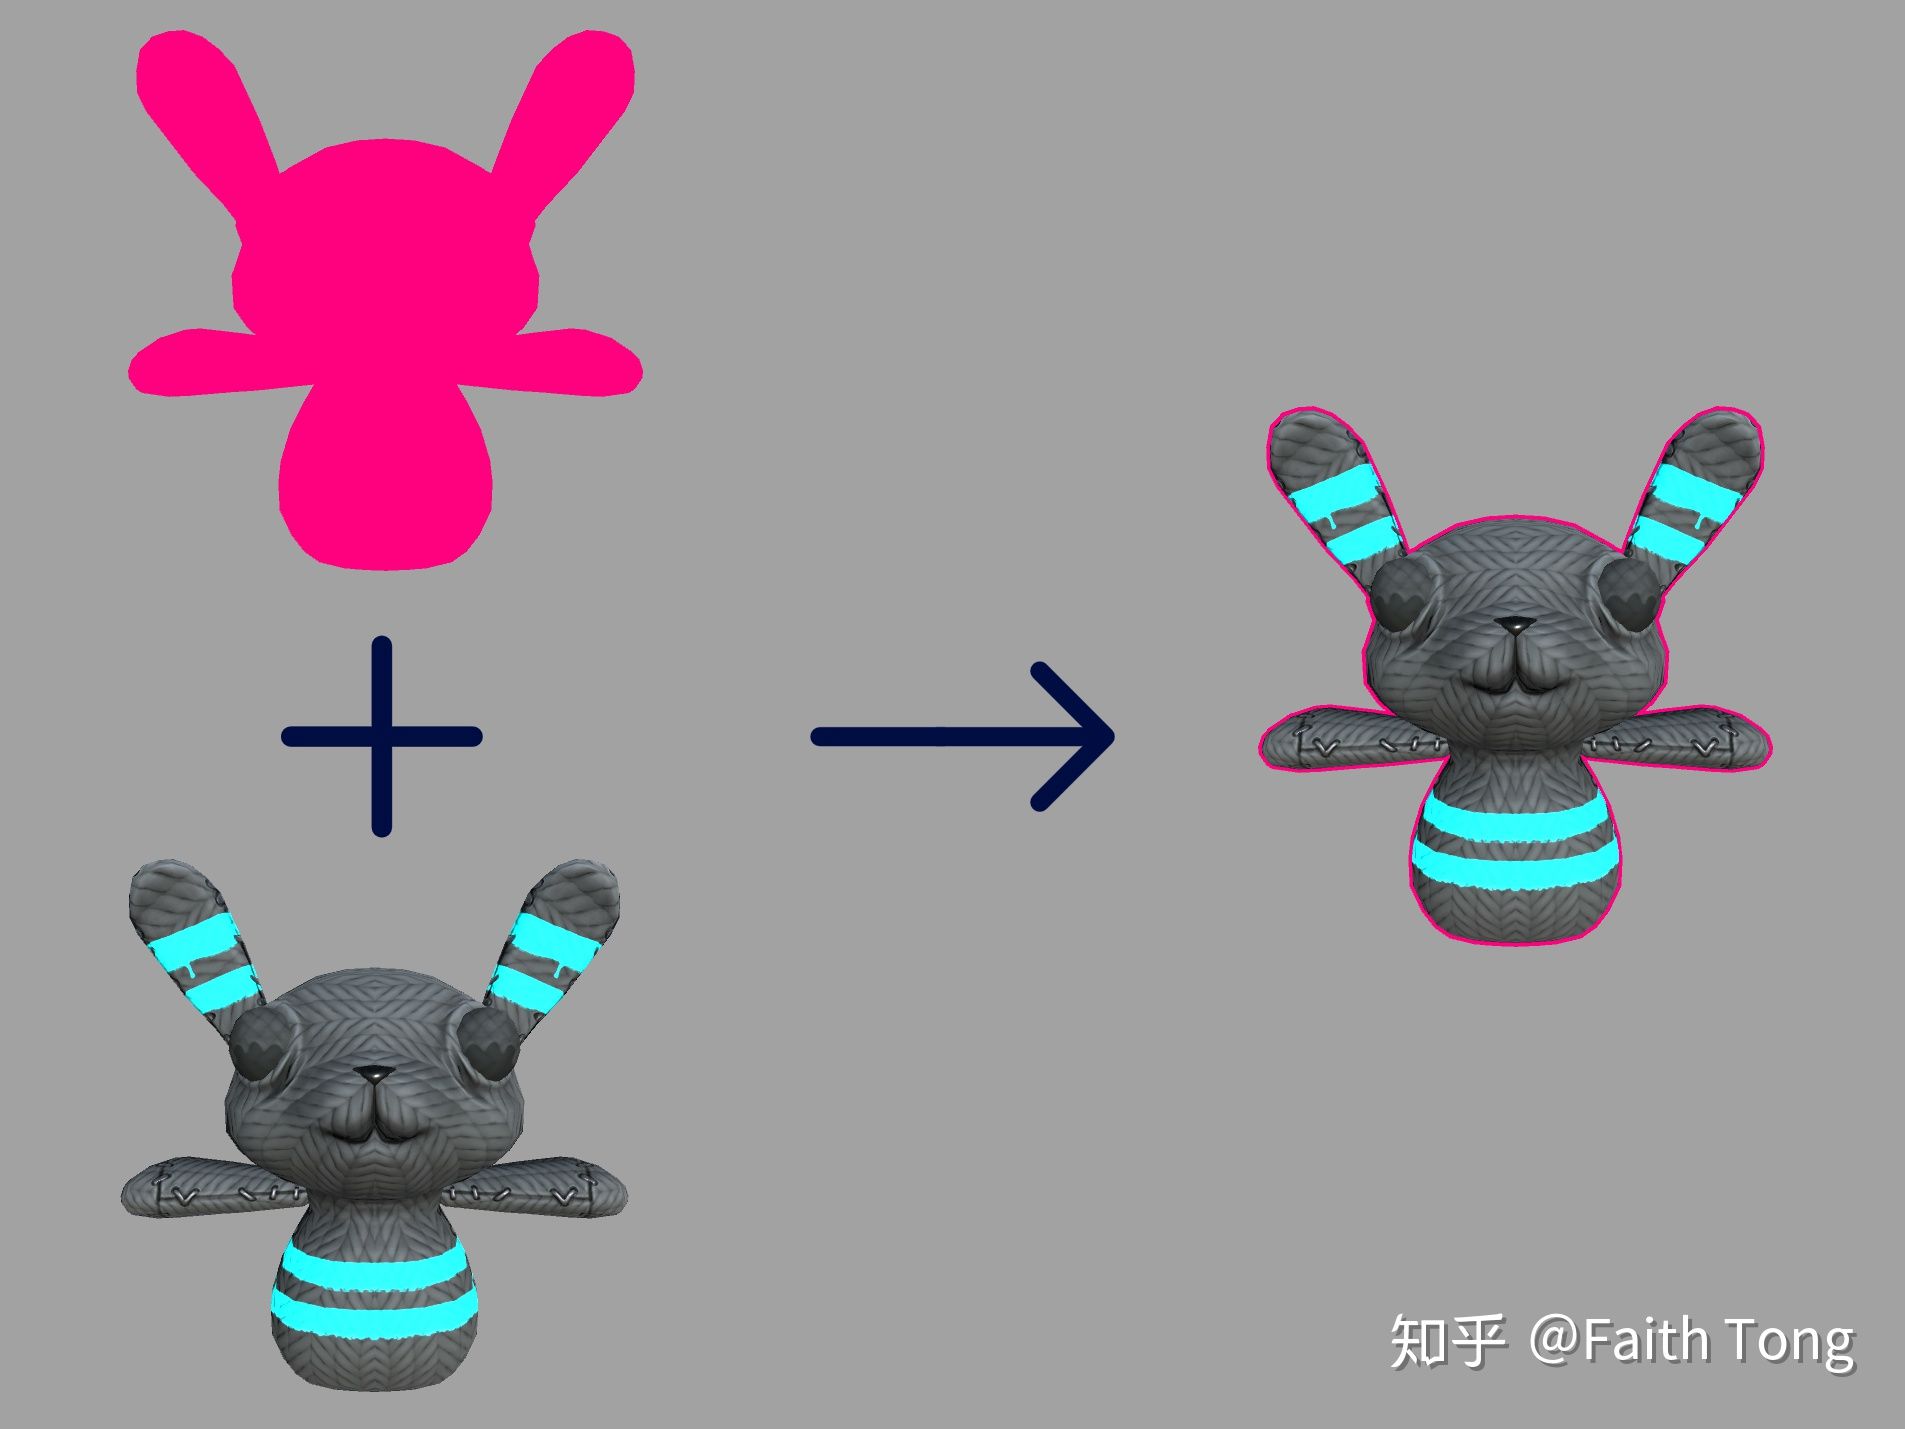
实现思路大致如下:
 实现思路
实现思路
第一层,先用一个单独的pass绘制一个纯色的模型,不过要在这个pass里对顶点着色器做一些特殊处理。
第二层,绘制正常状态的效果
合并两层为最终效果
下面进入shader讲解:
Properties{
    _Albedo ("Albedo", 2D) = "white" {}
    _Specular ("Specular Glossiness(RGB A)", 2D) = "black" {}
	_Normal ("Normal", 2D) = "bump" {}
	_AO ("Ambient Occlusion", 2D) = "white" {}
	_Emission("Emission", 2D) = "black"{}

    _OutlineColor ("Outline Color", Color) = (1,0,1,1)
	_OutlineWidth ("Outline Width", Range(0, 0.1)) = 0.01}
定义了Unity Specular标准工作流的材质属性以及描边的颜色和宽度。
Tags { "RenderType"="Opaque" "Queue" = "Transparent-1"}LOD 200
渲染类型为不透明。
渲染队列之所以设置为Transparent,是为了避免被天空盒挡住;而最后减1是为了保证是在Transparent之前被渲染。
Pass{
	ZWrite Off

	CGPROGRAM
	#pragma vertex vert	#pragma fragment frag
	struct appdata
	{
		float4 vertex : POSITION;
		float3 normal : NORMAL;
	};

	struct v2f
	{
		float4 vertex : SV_POSITION;
	};

	fixed4 _OutlineColor;
	fixed _OutlineWidth;

	v2f vert(appdata v)
	{
		v2f o;
		v.vertex.xyz += v.normal * _OutlineWidth;
		o.vertex = UnityObjectToClipPos(v.vertex);
		return o;
	}

	fixed4 frag(v2f i) : SV_Target
	{
		return _OutlineColor;
	}

	ENDCG}
在顶点着色器里,我们把顶点坐标向着法线方向扩展,通过_OutlineWidth变量控制扩展的距离。
在片元着色器里,直接返回_OutlineColor变量的颜色,这样我们就可以看到膨胀之后的纯色效果了。
为了避免膨胀之后的效果挡住接下来的正常效果层,我们把这一pass的深度写入关闭。
CGPROGRAM// Physically based Standard lighting model, and enable shadows on all light types#pragma surface surf StandardSpecular fullforwardshadows// Use shader model 3.0 target, to get nicer looking lighting#pragma target 3.0struct Input{
    float2 uv_Albedo;};sampler2D _Albedo;sampler2D _Specular;sampler2D _Normal;sampler2D _AO;sampler2D _Emission;// Add instancing support for this shader. You need to check 'Enable Instancing' on materials that use the shader.// See https://docs.unity3d.com/Manual/GPUInstancing.html for more information about instancing.// #pragma instancing_options assumeuniformscalingUNITY_INSTANCING_BUFFER_START(Props)
    // put more per-instance properties hereUNITY_INSTANCING_BUFFER_END(Props)void surf (Input IN, inout SurfaceOutputStandardSpecular o){
    fixed4 c = tex2D (_Albedo, IN.uv_Albedo);
    o.Albedo = c.rgb;
    o.Alpha = c.a;

    fixed4 specular = tex2D (_Specular, IN.uv_Albedo);
    o.Specular = specular.rgb;
    o.Smoothness = specular.a;

    o.Normal = UnpackNormal(tex2D (_Normal, IN.uv_Albedo));
    o.Occlusion = tex2D (_AO, IN.uv_Albedo);
    o.Emission = tex2D (_Emission, IN.uv_Albedo);}ENDCG
这一层是完整Specular工作流的表面着色器,我们也可以根据需要使用顶点-片元着色器。